Foxtrot1
Well-known member
I have always loved Mausers. Not the military rifles or the post war chop shop specials, but classic sporting rifles that were built on a 98 action. Some were built in prestigious shops such as Rigby, Griffin and Howe, or Simpson but many were built by unknown craftsman that were trying to make a living between the two wars. But they were all Mausers and were designed to be simple, accurate, and utterly reliable under all field conditions. Most of us today take how revolutionary these rifles were. Except for upgrades to the safety the only "advances" to the design have been to make them cheaper to manufacture.
I have always wanted one of these classics, something along the lines of an Oberndorf type B, but have never found one in the configuration I wanted that was in my budget. I also have some reservations about buying a collector grade antique to use hardcore in the field. So I came up with the idea that I would build one, doing as much work as I could along the way.
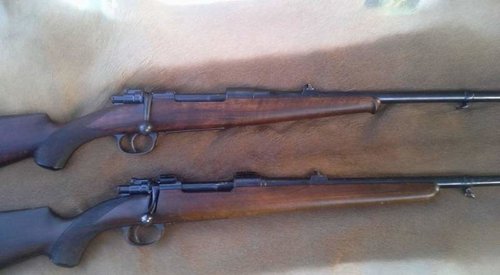
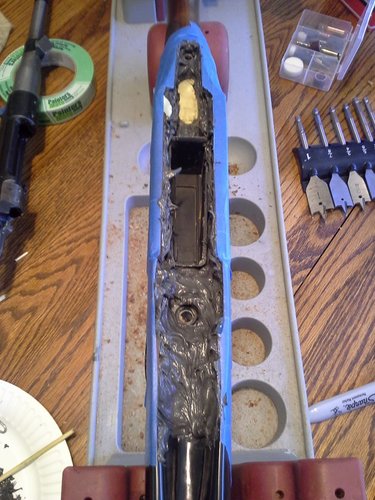
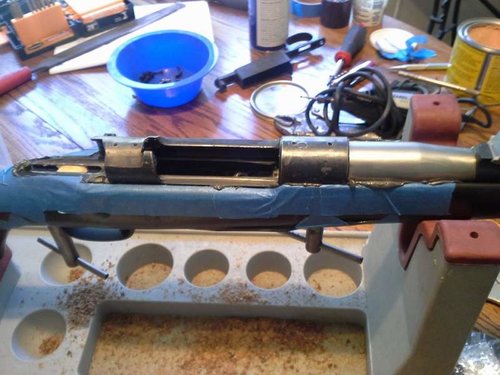
My project started with a $300 Husqvarna 8x57 that was built on an early C-ring commercial FN 98 action. So after 75 years of hunting caribou, moose, or red deer it was time for a remake. The rifle was built in 44, so it carried a beech stock due to the shortage of walnut during the war(bottom rifle of the pic with 2). With a little bit of help from a butane torch I salvage the sights and barrel band to go with the action. At this point I sent my action out for all of the work that required a lathe and began searching for an stock with the right lines. The action was trued and a match grade Douglas barrel was contoured to match the old barrel and installed. I had it chambered in the classic 7x57, it seemed fitting for the rifle I wanted.I also decided to have a Dakota 3-position safety added to the rifle. Thanks to a loss during shipping, I also had to add a New England Custom Gun Works banded front sight. When the action came back, it was time for my work to start. I hand fit a new rear sight blade and new bottom metal to it. Then the stock work began. I had settled on an old take-off stock to be refinished and Inletted to my action. I was apprehensive about learning on an expensive piece of walnut while learning a new hobby. It is bedded with devcon steel putty with 2 hidden crossbolts and a reinforcing steel rod in the wrist installed. I am sure I went overboard reinforcing the stock, but since I was working on it anyway, I added the steel while I was in there. I also made a Cape buffalo horn grip cap and inlay to cover an old sling swivel hole. It also got a pachmyer old English pad to give it a little LOP (I'm 6'8", so stocks never fit me). Then lots of coats of waterlox tung oil to wrap the project up. Since this rifle isn't going to be a safe queen, I opted to have the metal cerakoted.
.

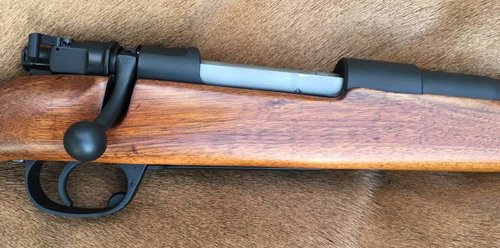
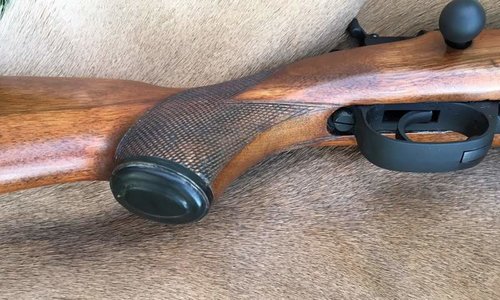
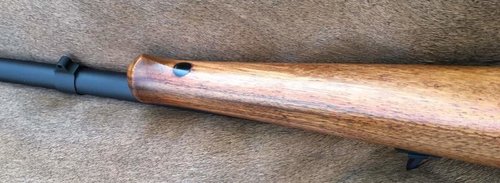
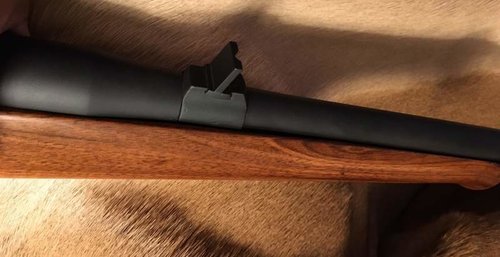
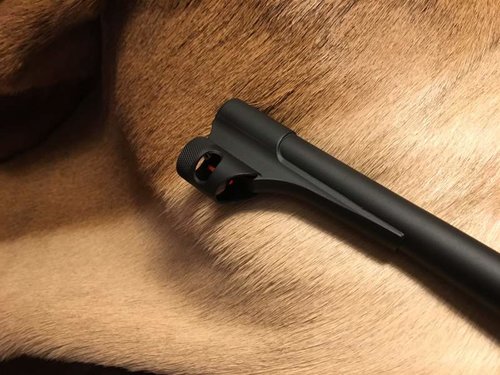
Overall I am happy with how it turned out, especially for my first rifle building project. When I get the free time, I am going to install a Meopta 3x9 scope with the #4 reticle. I think we are gonna have a long career together.
I have always wanted one of these classics, something along the lines of an Oberndorf type B, but have never found one in the configuration I wanted that was in my budget. I also have some reservations about buying a collector grade antique to use hardcore in the field. So I came up with the idea that I would build one, doing as much work as I could along the way.
My project started with a $300 Husqvarna 8x57 that was built on an early C-ring commercial FN 98 action. So after 75 years of hunting caribou, moose, or red deer it was time for a remake. The rifle was built in 44, so it carried a beech stock due to the shortage of walnut during the war(bottom rifle of the pic with 2). With a little bit of help from a butane torch I salvage the sights and barrel band to go with the action. At this point I sent my action out for all of the work that required a lathe and began searching for an stock with the right lines. The action was trued and a match grade Douglas barrel was contoured to match the old barrel and installed. I had it chambered in the classic 7x57, it seemed fitting for the rifle I wanted.I also decided to have a Dakota 3-position safety added to the rifle. Thanks to a loss during shipping, I also had to add a New England Custom Gun Works banded front sight. When the action came back, it was time for my work to start. I hand fit a new rear sight blade and new bottom metal to it. Then the stock work began. I had settled on an old take-off stock to be refinished and Inletted to my action. I was apprehensive about learning on an expensive piece of walnut while learning a new hobby. It is bedded with devcon steel putty with 2 hidden crossbolts and a reinforcing steel rod in the wrist installed. I am sure I went overboard reinforcing the stock, but since I was working on it anyway, I added the steel while I was in there. I also made a Cape buffalo horn grip cap and inlay to cover an old sling swivel hole. It also got a pachmyer old English pad to give it a little LOP (I'm 6'8", so stocks never fit me). Then lots of coats of waterlox tung oil to wrap the project up. Since this rifle isn't going to be a safe queen, I opted to have the metal cerakoted.
.


Overall I am happy with how it turned out, especially for my first rifle building project. When I get the free time, I am going to install a Meopta 3x9 scope with the #4 reticle. I think we are gonna have a long career together.


